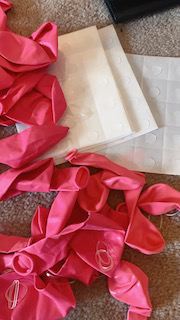
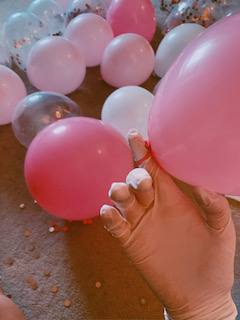
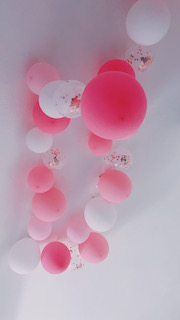
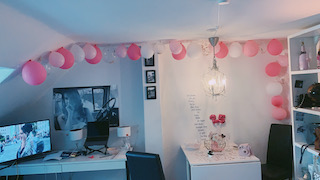
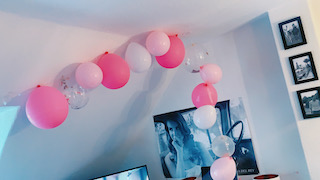
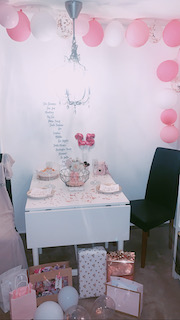
How to make a beautiful balloon garland by yourself
Hey you ♡
Are you looking for a great DIY or an idea on how you could decorate for a party?
What about making your own balloon garland?
If you would like to get more details on how to build a stunning balloon ceiling, this blogpost is for you!
1. Purchase your balloon ceiling kit and a pump
To begin with this project you have to purchase a balloon ceiling kit. I bought mine at my local party store in our mall. They had a huge variety on colors and sizes. It was about 35€, so pretty pricey. The kit I used had 160 balloons, so if you don’t end up using all of them, you will have plenty to decorate with, for future parties. It’s crucial that you also purchase a pump, because the balloons will be filled up with air and not with helium.
Get the goods from amazon *
2. Lay out all of the goods
Next take a look on all of the pieces, that are included in the bundle. I recommend to get some parcel tape, to tape the garland to the wall. But you’ll have to be very careful, to not ruin the wall! My bundle included small and larger balloons in different pinks and whites filled with copper confetti elements (which can get very messy, if the balloon will end up popping by accident). My bundle also included some copper tassels, which I didn’t end up using.
3. Start filling up the balloons
The obvious part about this project is to fill up the balloons. I would highly recommend to do this step with a friend and not like me all by myself. Even though I used a balloon pump, it got very hard to fill up nearly hundreds of balloons and to put a knot in them. Later I’ve used some clothes to protect my fingers, because they’ve started to bleed and got very swollen. So the more helpers you will have, the less injuries will happen 🙂 Just want to keep it real, that this project takes time and motivation!
4. Keep on going!
Here you can see how the different sizes and colors of the balloons looked like filled up.
5. Hang the balloons on your ceiling
When you reached your preferred amount of balloons, then you can put them through the howls of the garland. I used a pencil, to push the knots through. When the garland is filled to your liking, it’s time to hang them up. How I previous mentioned, I’ve used parcel tape nearly after every 4 balloons, so the garland was really secured to the ceiling. Someone who helps at this process would be recommended.
The result
Yay, we have made it! I’ve used one garland over my bed and one hanging over my office space and birthday table. Especially with lighting, it looks so beautifully.
Take a look at my Pinterest videos
I hope you liked this DIY project and are thinking about doing it yourself. Let me know, if you tried it out, by connecting to me via Pinterest.
Love
Pin this post if you liked it ♡
Follow my Pinterest walls
For more balloon inspo
For my birthday DIY's
* This blogposts has affiliate Amazon links. All of the products are marked with a star. If you purchase one of the products through my link, I’ll get a small commission from it. All of the recommendations are my own.